by Lisa | Jan 21, 2021 | Business, Facilitation, Leadership, Productivity, Visual Thinking
Have you taken time to evaluate last year’s projects or programs? It’s the beginning of a new year – the perfect time to do project course corrections with your team. What questions are necessary for project evaluations to provide innovation and improvements for your organization? It’s time to implement a simple process called the Stop, Continue, Start method when evaluating key areas such as meetings, stakeholder management, risk management, training, onboarding, reporting, changes and requests. This easy exercise can help you manage your business, team, and project more efficiently. It allows you to think through what you need to continue, stop, or start doing.
Have you taken time to evaluate last year’s projects or programs?
It’s the beginning of a new year – the perfect time to do project course corrections with your team. Besides, the last year was eventful; the pandemic forced every organization to operate differently.
Now is the best time to step back and think of how these changes will affect your programs and initiatives this year.
- What are the things your organization should be doing to take advantage of these changes?
- What are the things that are no longer relevant in the current situation?
- How can you manage your team effectively in light of these changes?
These questions are necessary for project evaluations and may provide innovation and improvements for your organization.
Do you know what process is simple to remember during a performance review?
The Stop, Continue, Start method!
This easy exercise can help you manage your business, team, and project more efficiently. It allows you to think through what you need to continue, stop, or start doing.
Here are 7 areas that should be considered, among many more, for the Stop, Continue, Start exercise.
Meetings
Meetings are a crucial part of project management. So, that is one of the areas you should perform a Stop, Continue, Start exercise. Plus, the Covid-19 pandemic has changed how meetings operate – a shift from mostly physical sessions to virtual meetings.
- What are the things you should start to make your meeting run more effectively?
- What are the things you should stop doing to make your meeting less time-consuming?
- Do you need to stop/continue/start using a specific platform for your meetings?
For example, should you conduct some meetings via phone and stop doing all meetings via video because everyone on the team is suffering from Zoom fatigue?
Should some meetings be “hybrid” meetings, because some employees are working from home while others are now working at the office?
Stakeholder Management
Your stakeholders – your team, clients, and management, are the backbone of your project. As a program director or project manager, it is your responsibility to manage how well stakeholders receive information.
You can use your stop, continue, start exercise to determine:
- What are the things you can start/stop to help you with your stakeholder management?
- What you can start or continue to help you manage information dissemination well.
For example, should you stop sending broadcast emails and start calling individuals to encourage more effective conversations and, in turn, improve communication with stakeholders? You can use this exercise to revisit your stakeholder register to identify if there are new stakeholder groups to add, or stakeholder groups to remove from the list.
Changes & Requests
Changes and requests occur often throughout the course of a project. They are necessary for growth. On the other hand, how well you handle them determines if they will improve your project.
So, during your project or program evaluation, you can discuss:
- What are the processes that you should stop doing because they impede your ability to manage changes/requests?
- Are there better ways you can handle your requests?
- What can you start doing to implement changes better?
For example, maybe you should stop receiving change requests via fax because no one is faxing anymore? As as result, you may need to consider implementation of a web based change request system to increase efficiency.
Risk Management
For any project, you must have a proper risk management plan in place to identify and take care of issues as they arise. To keep your risk register up to date, you should carry out the Stop, Continue, Start exercise often to mitigate new risks as they emerge.
- What risk mitigation practices should you start to make it easier for you to identify and manage risks?
- What risk management processes do you have in place that have proven effective?
- Do you have practices you need to stop?
For example, is it possible that management needs to revisit their emergency contact list? Is management ready to take the necessary action to contact their team during a time of crisis, such as the U.S. Capitol riots? Do they have an updated cell phone list to ensure they can get in touch with their team members?
Training
Training is a crucial process in every organization. It exposes your team members to new and more effective ways of tackling the task at hand. Due to pandemic restrictions, training your team may become increasingly challenging.
An excellent way to tackle this problem during performance evaluation is to use the Stop, Continue, Start exercise.
- In the light of the recent changes, what are things you can start to make training your personnel easier?
- Should you continue/stop in-person training? Or start virtual training?
- What can you initiate to make your team members take advantage of the training?
For example, as a program manager, maybe you need to find a service provider that can assist your staff with Microsoft teams training?
Onboarding
Effective onboarding is essential to incorporate new members and programs into your organization without disrupting the workflow.
- How efficient is your current process? Do you need to start a new onboarding process?
- Are there practices you need to remove (stop) from your onboarding process?
For example, maybe you will start using a new onboarding system to more effectively manage your growing team or project portfolio? Maybe you will need to stop using the paper system and move your onboarding process online to a more intuitive web based platform?
Reporting
Reporting is crucial to let your stakeholders know about your project’s progress. So, you should also evaluate your reporting system to ensure you aren’t lacking in that area.
- What action should you take to help your team report better?
- What are the irrelevant things you need to stop reporting on?
- What are the things you need to continue or improve?
Should you stop tracking a certain metric because it is no longer relevant, for example, fax numbers?
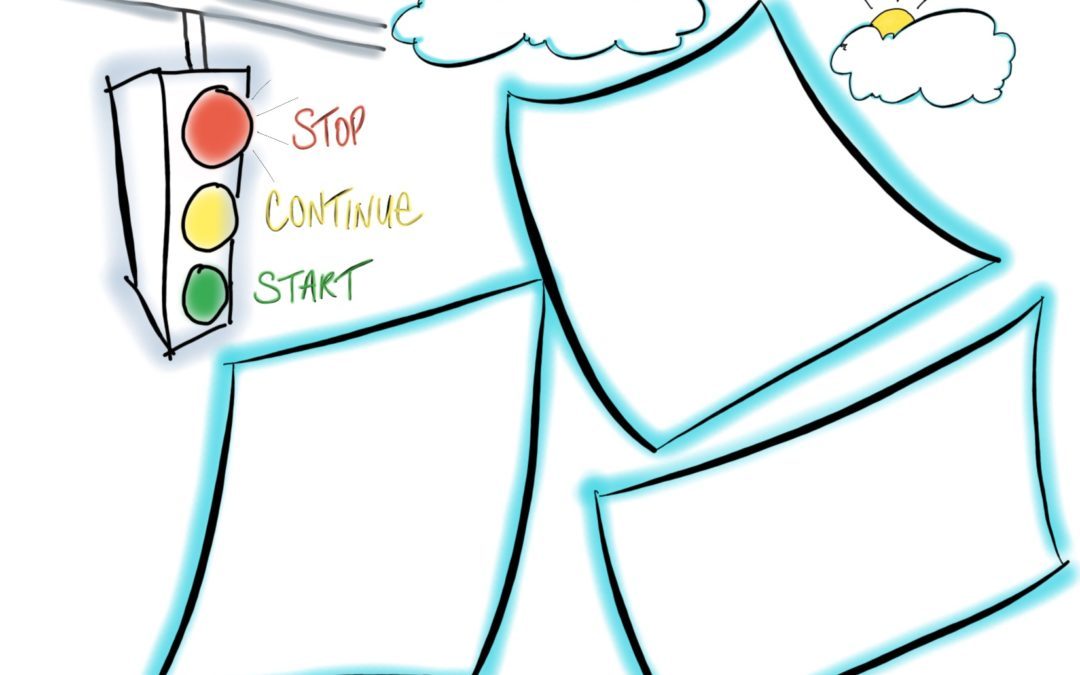
How to Execute the Stop, Continue, Start Exercise
The best way to run the Stop, Continue, Start exercise for your project is to perform it with your team. Create a time for you and your team to review each element of this exercise. By asking questions, you can categorize their input as stop, continue, or start.
Ask for your team members’ input. Their feedback will help you in making the right decision. Take advantage of this team-building exercise!
Conclusion
In summary, these are the things that a project manager, program manager, PMO, or senior level manager would consider to improve their project/program. Of course, the point of executing the Start, Continue, Stop exercise is to act on your findings.
Once you have completed your list, make it a point of duty to consult the list regularly. This will promote movement in the right direction towards your program’s goals, as well as your overall company’s mission.
This visual template can help you carry out your Stop, Continue, Start Exercise efficiently. Click here to print the template and instructions.

by Lisa | Jan 5, 2021 | Business, Entrepreneur, Leadership, Productivity, Visual Thinking
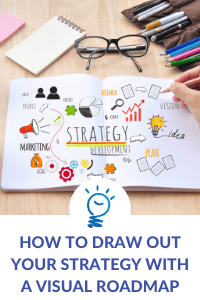
It’s the beginning of a new year and it’s time to get back to the drawing board to create a strategic roadmap. Why a Roadmap? A visual, like a simple roadmap, is a crucial part of your organization’s strategic planning. A strategic roadmap can assist leaders in providing a visualization of the organization’s long-term vision, mission, goals and initiatives for key stakeholders. Your roadmap should be a visual that assists your team in making better decisions. So, how do you draw a no-fail high-level roadmap? This article will cover the top 8 tips to help you create the perfect roadmap.
It’s the beginning of a new year!
For leaders and consultants, that implies the start of new projects and products. It is also the time to assess existing projects in your company.
It’s time to get back to the drawing board to create a roadmap.
Why a Roadmap?
Strategic planning is an essential part of project management or product development. And a visual, like a simple roadmap, is a crucial part of your organization’s strategic planning.
A road map is an excellent way to show information about your project or product at a glance. A high-level roadmap will help you collect and organize your project’s strategy, goals, and tasks. A strategic roadmap can assist leaders in providing a visualization of the organization’s long-term vision, mission, goals and initiatives for key stakeholders.
Roadmaps come in several formats. Your roadmap can be a simple line chart or a complicated flow chart. Regardless of the format, your roadmap should be a visual that assists your team in making better decisions. It should simplify and streamline communication about your projects, products, programs, or organization’s long-term initiatives.
So, how do you draw a no-fail high-level roadmap?
This article will cover the top 8 tips to help you create the perfect roadmap. Let’s get started.
- Begin with the end in mind
What is the big vision at the end of the road? What are the goals that align with that vision? What is the time frame for the project?
The answers to these questions should be the first thing on your roadmap. Define your vision, goals and time frame clearly on your roadmap. Your goals should align with your vision clearly.
With clearly defined goals and time frames, you can decide the tasks (next steps) you need to complete your project. Plus you will have a way to measure progress.
- Gather all relevant information
Make sure you have all the relevant information about the project at hand. That way, you can easily define your project strategy. Talk to all the key stakeholders involved and get their input.
What will support the vision and what will challenge the vision?
If you are creating a roadmap for a product, engage with your product user community. Get the consumer’s input about the product.
- Add specific tasks
Once you have established your end-results, create specific tasks for each process of your project. Make sure you add a time frame to each task as well.
Each task should be clearly defined and assigned a time duration. It makes your roadmap action-oriented.
- Don’t include everything on your roadmap
Avoid too many details on your roadmap!
Your roadmap is supposed to be a graphical representation of your project. It does not replace other project management tools, it supplements them.
Keep it high-level!
- Design your roadmap image with your audience in mind
Your stakeholders will be reviewing, approving, responsible, or accountable throughout your project.
Use formats, diagrams and terms they will easily understand. If you are presenting to several groups, point out key areas in the roadmap that are key to each group. Our facilitators love using Mural.co to create roadmaps during strategic planning retreats. Mural is a great collaborative whiteboard tool.
Keep in mind that doesn’t necessarily mean you have to create different roadmaps for each group.
- Use a simple design, large titles and subtitles
Think of your roadmap as a presentation of your project.
Your audience should be able to read your roadmap even at a distance. Use a bold font to call attention to different areas and a layout that people can easily read.
- Use various colors
You can use different colors to represent each process on your map. However, make sure you use contrasting colors so it is easier to read.
You can use a color code to help people quickly make connections between the different processes.
- Use the right roadmap tools
Lastly, make sure you are using the right roadmapping tool. Pair that with the solid meeting facilitation tools and you’ll be on your way to having a productive strategy meeting.
Your roadmap tool should:
- Make it easy to create visual concepts
- Update visuals
- Be user-friendly
- Make it easy to export
- Easily integrate with cloud storage and other project management tools
Those are our tips to help you create strategic roadmap to success. Feel free to download this template to get some inspiration for creating a roadmap for your organization, program, or project this year.
If you need professional help to create the right roadmap for your project or to facilitate your strategic planning session, you can book a consultation here.

by Lisa | Dec 18, 2020 | Entrepreneur, Facilitation, Productivity, Technology, Visual Thinking
In 2020, working remotely became the norm rather than the exception. Many companies plan to continue with their work-from-home arrangement into 2021. What does this mean for you? Virtual meetings are here to stay, so it’s time to set up your home office with productivity tools to stay on target with your 2021 goals and ensure your virtual meetings run smoothly. Here are my top tools of 2020 to help you stay up to date on the latest and greatest work-from-home gadgets.

In 2020, we saw a sudden increase in the use of video conferencing. Mainly due to the pandemic restrictions.
Online meetings replaced face-to-face meetings and video conferencing became a regular means of collaboration.
In fact, working remotely is now the norm rather than the exception.
Although restrictions vary based on region, many companies prefer to continue with their work-from-home arrangement. Just recently, Google and Facebook announced that they will continue with their remote work arrangement for now.
What does this mean for you? Virtual meetings are here to stay! It is important to set up your home office with productivity tools to stay on target with your 2021 goals, and video conferencing equipment to ensure your virtual meetings run smoothly.
To help you stay up to date on the latest and greatest work-from-home gadgets, here are my top tools of 2020 that I keep in my teleworking toolbox.
1. Microphone/Headsets
The last thing you want during your video conference is terrible audio!
People should hear you clearly during your virtual meetings and using only your computer’s microphone may provide a poor audio experience.
Adding a superior external microphone or headset to your virtual meeting toolbox will ensure your audience can hear you properly during virtual meetings.
There are several microphone brands on the market to give you crisp, clear audio. Do consider if you are uncomfortable sitting in front of a microphone, and if so, go for a headset instead.
While a wired headset is a great choice, the wiring and cabling creates limitations.
You can go for the Bluetooth models that offer comparable audio quality; however, they are a bit more expensive.
Lastly, if your work-from-home environment is loud, minimize distractions by opting for a noise-cancelling headset.
Personally, I prefer a microphone, and recommend the SNOWBALL Microphone.
2. Document Cameras
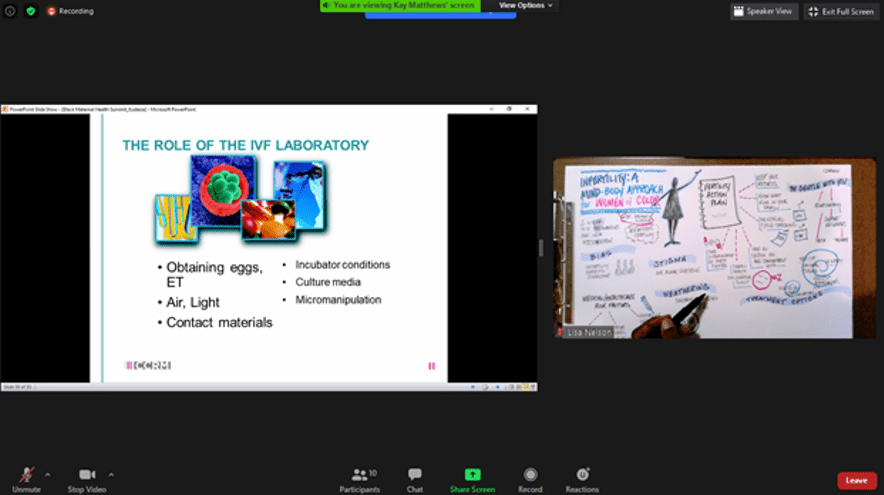
Document cameras are a small and powerful replacement for transparency projectors, This specifically designed web camera projects crisp and clear images onto a display, a great addition for virtual meetings and presentations!
I use the IPEVO V4K Ultra High Def Document Camera. It allows me to draw and have meeting participants see me working on a sheet of paper. My version of the Ipevo is old and it doesn’t even have a light but I still love it.
However, the IPEVO VZ-X 8MP Document Camera has a light and WIFI included if you are interested in those specs.
A third option, that a colleague of mine raves about, is the INSWAN INS-1 Tiny 8MP USB Document Camera.
At the Black Maternal Mental Health Summit, we used our document camera alongside the Powerpoint presentation as a means to visually communicate with the attendees of the event.
3. Lighting
Invest in good lighting!
Although natural lighting can be good enough for some video conferences, better lighting improves your video quality.
If your desk is located in a darker area of your room, there will be no need to find the right angle if you have a to brighten up your workspace!
With a proper lighting device it will be easier to video call at any time, including night.
I recommend the Neewer Ring Light Kit that comes with a tripod stand, dimmable LED lighting and color filters.
Looking for a more affordable LED Ring Light option that can hold your phone, has an adjustable color temperature range, and can clip on your desk or laptop? The UBeesize Selfie Ring Light checks all of those boxes and is compact and quite versatile!
In summary, the top three specifications to consider when purchasing your video conference lighting device are its dimmability, does it have the option to control the color temperature, and whether it provides adjustable positioning.
4. Traditional “Lo-Fi” Office Tools
Aside from the tech gadgets mentioned above, there are three key office tools that I recommend for seeing the big picture with visuals.
I love this UCreate Sketch Book, it’s always on the right-hand side of my desk, right next to my mouse where I put all of my notes. You can easily turn the sketch book from profile to landscape orientation, allowing for less restriction. There are also no lines, so you can sketch and doodle to your heart’s content!
Keep a Bullet Journal handy, specifically one that includes a dotted grid to make note-taking easy and increase productivity.
Lastly, every year I order a new wet & dry erase wall calendar which is located above my desk so that I can easily add, remove or revise events and goals. I love seeing the year at a glance, because I’m a visual person of course 🙂
Leave a comment and tell us about your favorite work-from-home tools!
Photo by Tima Miroshnichenko from Pexels
by Lisa | May 15, 2019 | Graphic Recording, Visual Thinking
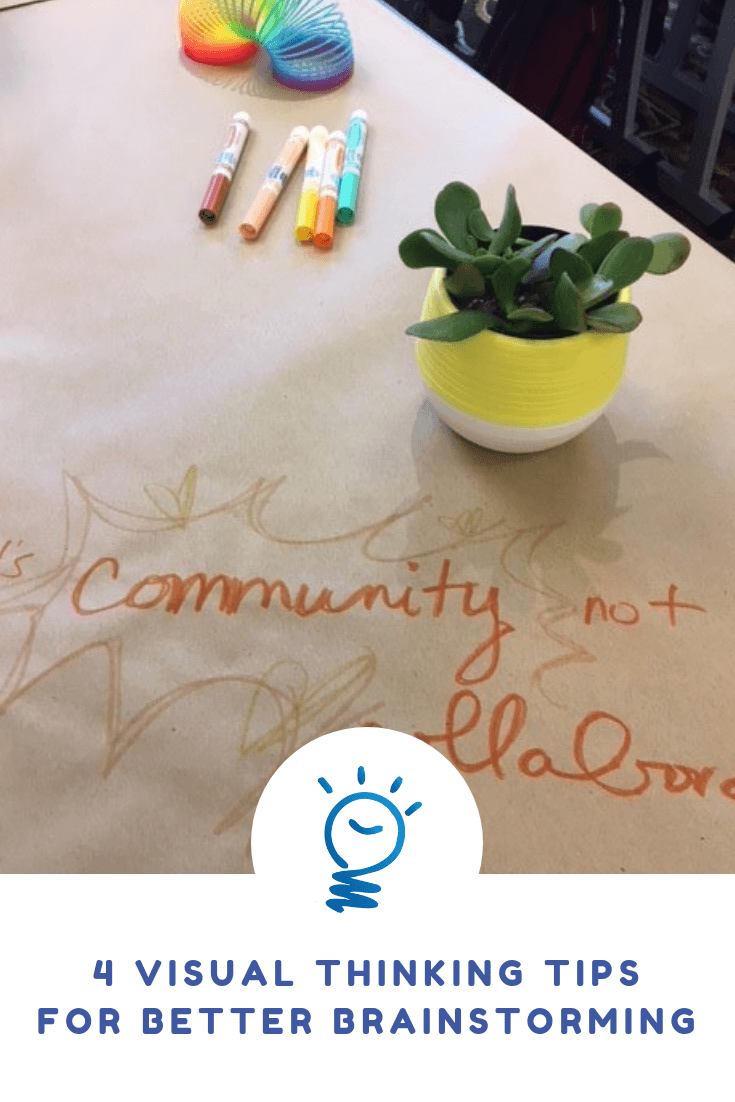
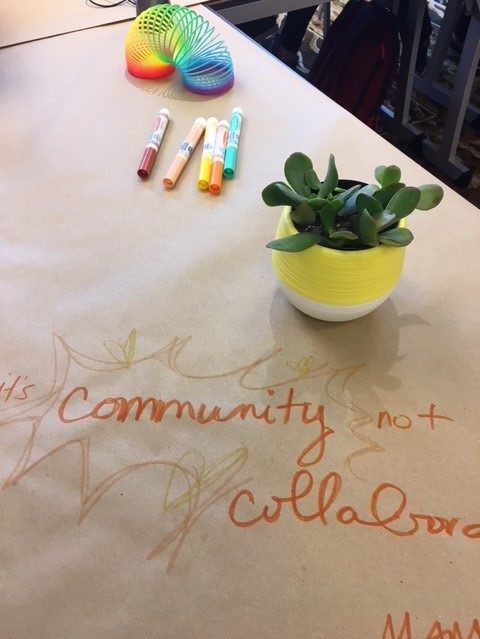
Thinking of the next big business move? Or dreaming up a big idea? Get creative and think outside of the box with a new way of brainstorming using pictures! This form of visual thinking can help you expand your thought process and get more out of your brainstorm sessions.
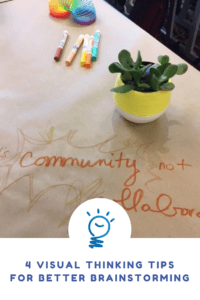
Below are our top four tips for visual thinking!
Incorporate more color. Sticking with black and white can be a little dull and on the boring side. Bring some color into the mix. You can color code ideas to represent goals, topics and more. Don’t forget to add some neon post-it notes to the mix. This is where your creativity can come out!
Connect similar thoughts. Draw an icon in the center to represent the topic. Draw lines to branch out from the central image. Now group fresh ideas and thoughts inside thought bubbles or clouds to keep things organized. Need some help with your drawing skills? Take our FREE icon course for more tips! Another way to keep ideas grouped is through highlighting similar topics. Allow your color coding to come into play again through this organizational tip.

Go big. Big paper means BIG ideas. Don’t limit your space with small pieces of paper. Grab some poster board or large pieces of butcher paper. If your company has a print shop, ask them for some plotter paper which tends to be 30” inches or so wide. You can draw and write large ideas and have smaller topics or action items branch off of your big idea. Bring a few pieces to make sure you don’t run out of room and can keep the ideas flowing!

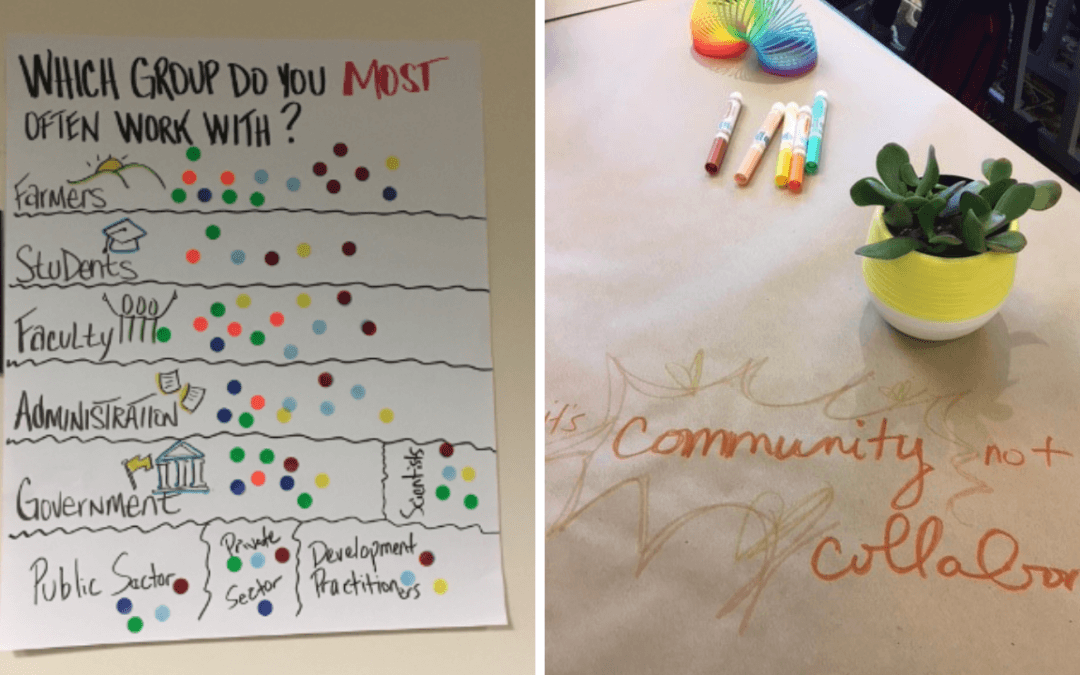
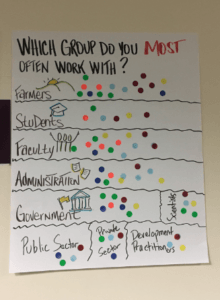
Encourage participation. Get the office or team involved with this process. You can expand your original ideas or let them bring new thoughts to the table. One way to encourage participation is to bring colored dots to your session. Allow each participant to use their dots to identify which idea they like the most and contribute their vote! The dots could also serve as a representation of their roles in the company as shown in the image below. See where everyone adds their talents!
Dream big and have fun! If you think your not sure how to plan a brainstorming session, we can support you, just contact us. We would love to help!
by Lisa | May 1, 2019 | Event Planning, Facilitation, Graphic Recording, Visual Thinking
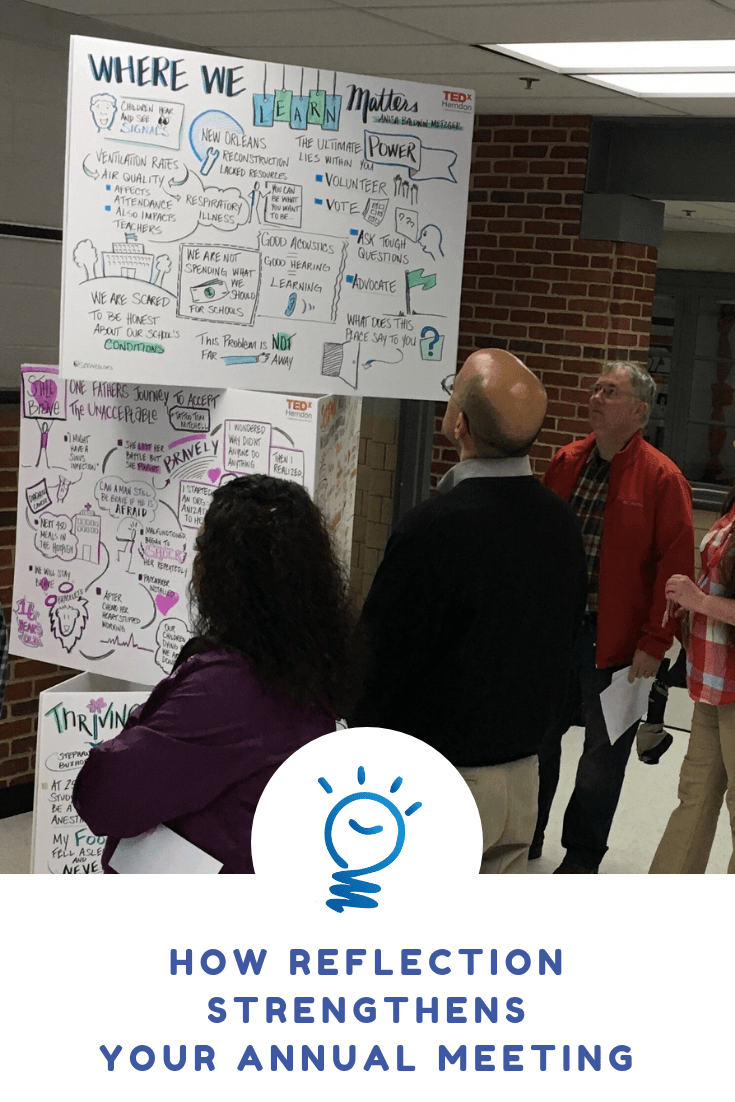
Annual meetings are a time of brainstorming, collaborative thinking and intensive informational exchange. Participants can feel a sense of burnout at various parts of the process, so keeping them engaged is crucial. Utilizing a service like a visual facilitator can provide unique imagery and perspective. Use this unique visual storytelling for a time of reflection. You can strengthen your agenda and keep your team energized and open the pathways to learning.

Here are some ideas for using reflection for meaningful discussions and recall. These reflections can be captured by a graphic recorder as well!
- Previous Year Reflections: Allow each member around the room to highlight what worked well and lessons learned from the past year. You could also suggest that they collaborate with their department for their contributions to the discussion.
- Internal Reflections: Prompt participants with the question, “What have you learned about yourself so far?” before lunch or scheduled break in your meeting. Give your team a heads up that you will be asking this question during the session so they don’t feel “on the spot.”
- Silent Reflections: Set a timer for 5-10 minutes for a period of silent reflection. Calming background music is also a great addition to this part. While the silence may feel a little odd at first, it will provide time for those in the room to reset of their mind. At the end of the timer ask if anyone would like to volunteer a thought or two from their “meditation.”
Let the group think back to what they learned throughout the meeting and share their takeaways. Give time for the graphic recorder to illustrate each members thoughts. At the end, you can decide collectively how to share these visual notes. Are you facilitating an annual meeting? Breakout sessions? Let our team help with the visuals! See our portfolio and learn more here!
by Lisa | Jun 25, 2017 | Education, Visual Thinking
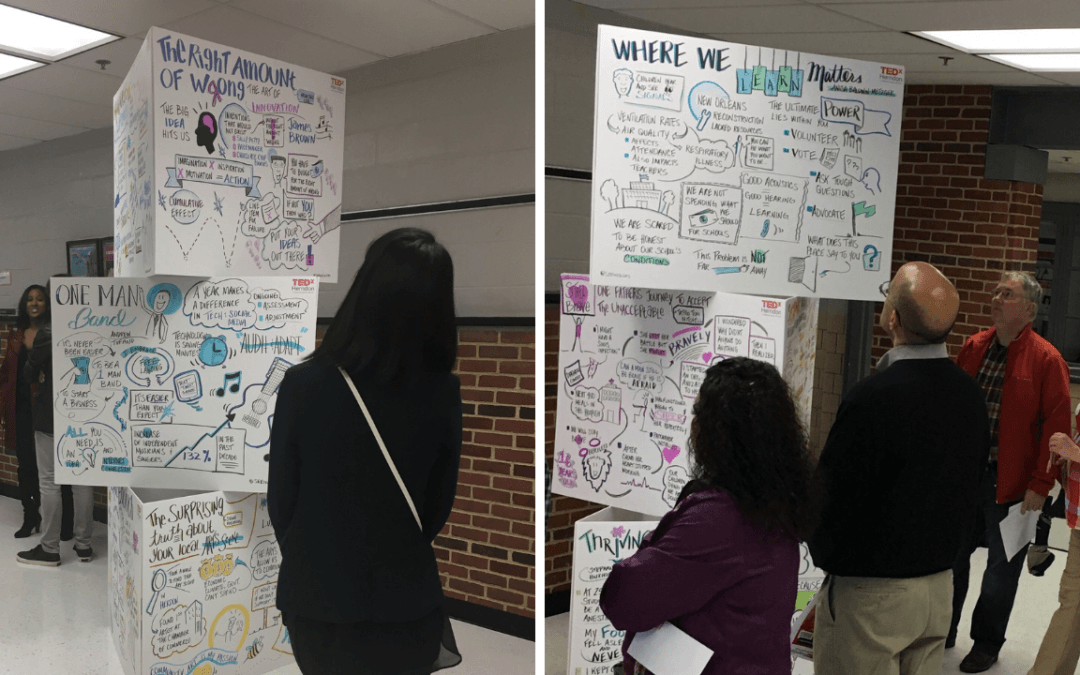
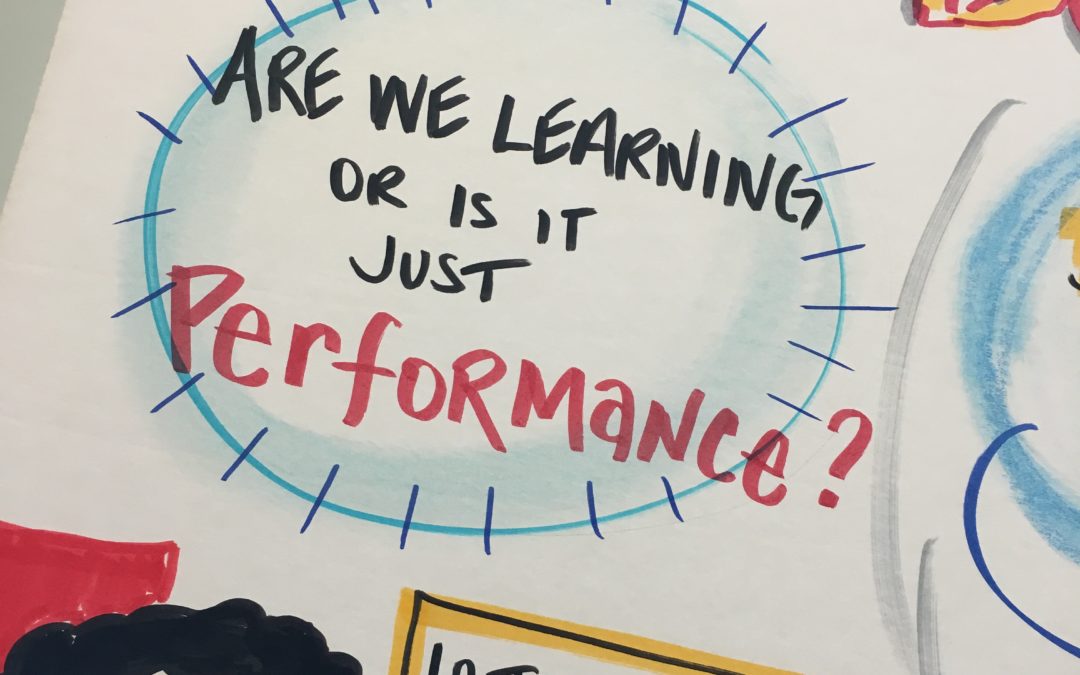
Last week I worked with over 200 leaders in education. It was the 21st SURN Leadership Conference held at the College of Willliam & Mary in Williamsburg, VA. The conference ran from 6/19-6/20 and included speakers and workshops that brought innovative thinking and insight to attendees. I provided graphic recording for 5 different sessions, check out some of the photos below.

It’s a full house! Educations Leaders ready to engage at #SURNLC2017

BIG Board for BIG Ideas! Title done, now I’m ready for capture.

Here is the after, Visual summary for the Opening Keynote all finished. Speaker: John Almarode

Concurrent Session: Speaker, John Almarode. Love his presentation style, very active with music and audience participation.

Mike Schmoker was so engaging with the audience. He showed an example about tying shoe laces with his own shoes. Can you find the shoes in my chart? Double click to expand.

Closing session by Steven Staples was great. He shared facts and inspiration for leaders.

I had the honor of being a presenter this year.
I thoroughly enjoyed teaching this workshop. The participants jumped right in and were so creative. They even shared their work on social media #SURNLC2017 to inspire others!

Teaching Sketchnotes for Beginners to a full class of 30 education leaders.

My final quote to the workshop participants.
This was such a positive and action oriented conference. I am excited to see the plans for next year!
Thanks for reading! If you find this valuable, please share this with someone you know.
If you want to use visual images for your next project, conference, or strategy session, just contact me for ideas. I’m happy to help (smile).