by Lisa | Jul 17, 2019 | Event Planning, Graphic Recording
When you work with See in Colors for an event, you can expect the quality of service with a splash of fun incorporated in the experience. In previous blog posts we covered what preparing for a graphic recording event with us looks like, what we do on event days and in this post, we are sharing more about what happens after an experience!

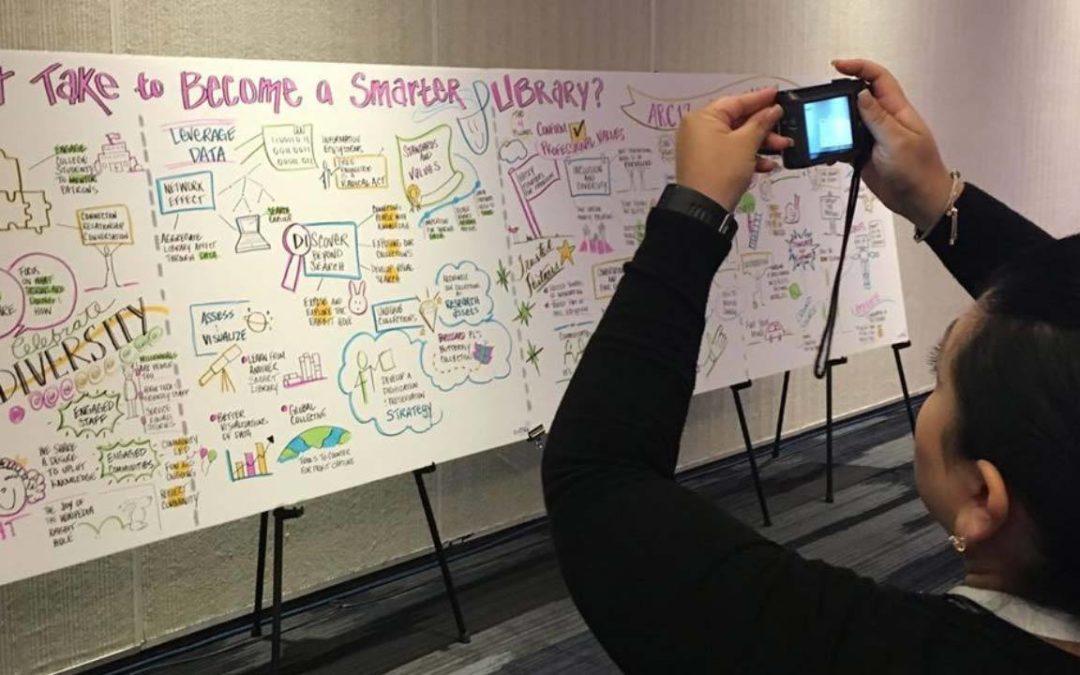
While the event itself has most of the fun with the drawing, colors, and conversation, we love what happens next with our visual summaries. After the event has wrapped up, we hand over the physical artwork. The visual notes are yours to keep! Have your event coordinator display the physical charts in a high traffic area or frame it (great for speaker gifts, or the head of your department). We can give you lots of ideas to get extra mileage from our graphic recording!
Here comes the Big bonus…you will also receive digital copies in JPEG and PDF formats. Including the digital rendering in your services package is our pleasure. Your digital images are great to include in your final report, newsletter, or website. Share the visual notes with sponsors or team members that were unable to make the event. This is how your bring the uniqueness of your event to the masses.
One more great idea! The digital images are great for promoting future events to potential partners. You can also use them to get the team excited for other opportunities down the road. Plus posting your digital copy on social media is always a good idea. Followers love the colorful, fun, one-of-a-kind design that comes out of a presentation through visual notes.
You can share these materials online, internally or externally to keep the conversation going long after the event is over.
Want to learn more about our services and how we can help your business? Visit our Graphic Recording page through the link here!

by Lisa | May 29, 2019 | Event Planning, Graphic Recording
Panels are a great way to engage an audience through multiple perspectives on current events, industry trends and more. The perfect addition to any conference or event, panels can help peak interests of lots of audiences depending on the variety of speakers you have featured. Another great way to increase the excitement around your event’s panel is through graphic recording. Check out our three tricks for making a panel be the highlight of your next event!

Create Visual Summaries – Hire a graphic recorder to summarize your panel through visual notetaking. No more “death by powerpoint” or scribbly meeting notes, bring something fresh to the experience. These visual summaries can include the main points, fun details and encouraging words from the panel. Bonus Tip: Let your graphic recorder know if want to include panelists names and social media accounts so participants can continue to follow along long after the event is completed.

Encourage Photos – Encourage your panelists to take photos with attendees in front of the visual summary. This could serve as a fun backdrop! Have them stand by their favorite quote from the panel or devote a section of the visual summary to each panelist for them to pose by.
Get Social with Sound Bites – Pulling quotes and strong snippets from the panel can be great for social media sharing. Tell participants to take photos and post on their platforms with a specific event hashtag. Tag panelists as well to promote your event and content reach with their followers as well. When your company is sharing on social, be sure to include details about ways to stay in the loop to encourage sign-ups for future gatherings. Once people see what is shared through these visual summaries, it will undoubtedly pique interest for the next event!
These are just a few ideas to get you started! Want more ways to engage with your audience for your next event? Check out our services for more information and ideas!
by Lisa | May 15, 2019 | Graphic Recording, Visual Thinking
Thinking of the next big business move? Or dreaming up a big idea? Get creative and think outside of the box with a new way of brainstorming using pictures! This form of visual thinking can help you expand your thought process and get more out of your brainstorm sessions.
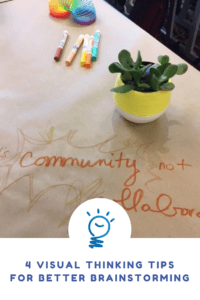
Below are our top four tips for visual thinking!
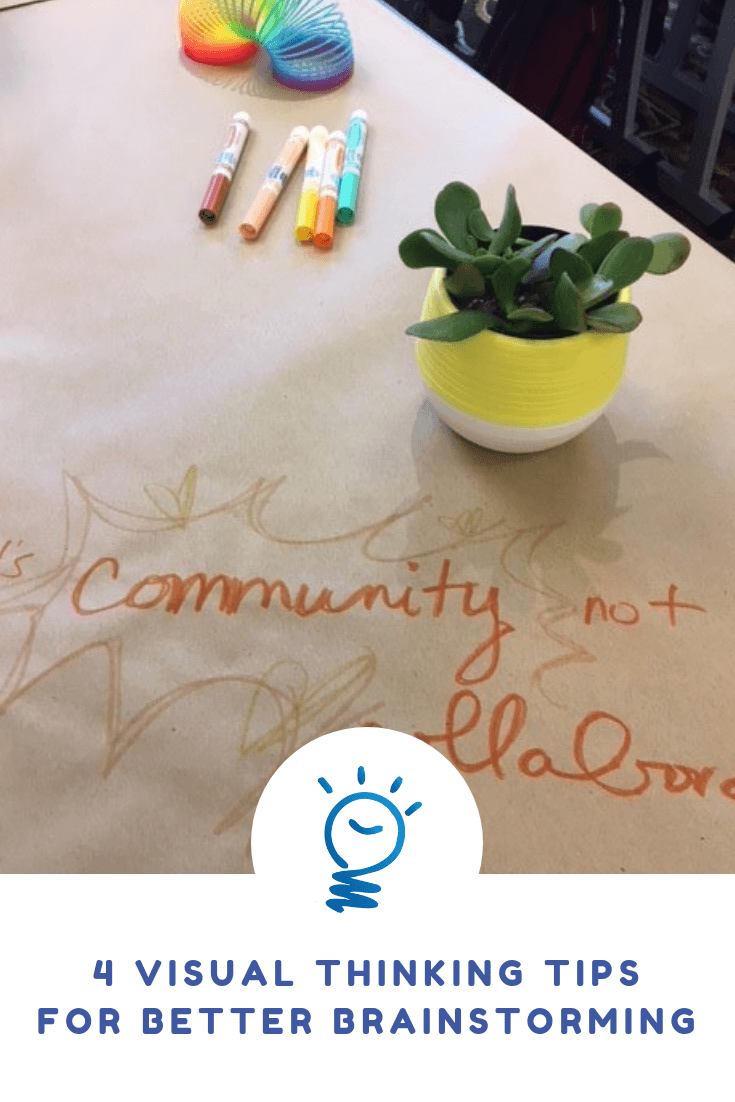
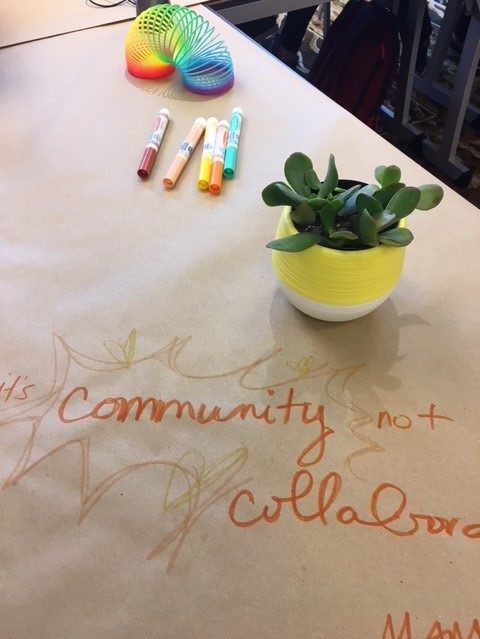
Incorporate more color. Sticking with black and white can be a little dull and on the boring side. Bring some color into the mix. You can color code ideas to represent goals, topics and more. Don’t forget to add some neon post-it notes to the mix. This is where your creativity can come out!
Connect similar thoughts. Draw an icon in the center to represent the topic. Draw lines to branch out from the central image. Now group fresh ideas and thoughts inside thought bubbles or clouds to keep things organized. Need some help with your drawing skills? Take our FREE icon course for more tips! Another way to keep ideas grouped is through highlighting similar topics. Allow your color coding to come into play again through this organizational tip.

Go big. Big paper means BIG ideas. Don’t limit your space with small pieces of paper. Grab some poster board or large pieces of butcher paper. If your company has a print shop, ask them for some plotter paper which tends to be 30” inches or so wide. You can draw and write large ideas and have smaller topics or action items branch off of your big idea. Bring a few pieces to make sure you don’t run out of room and can keep the ideas flowing!

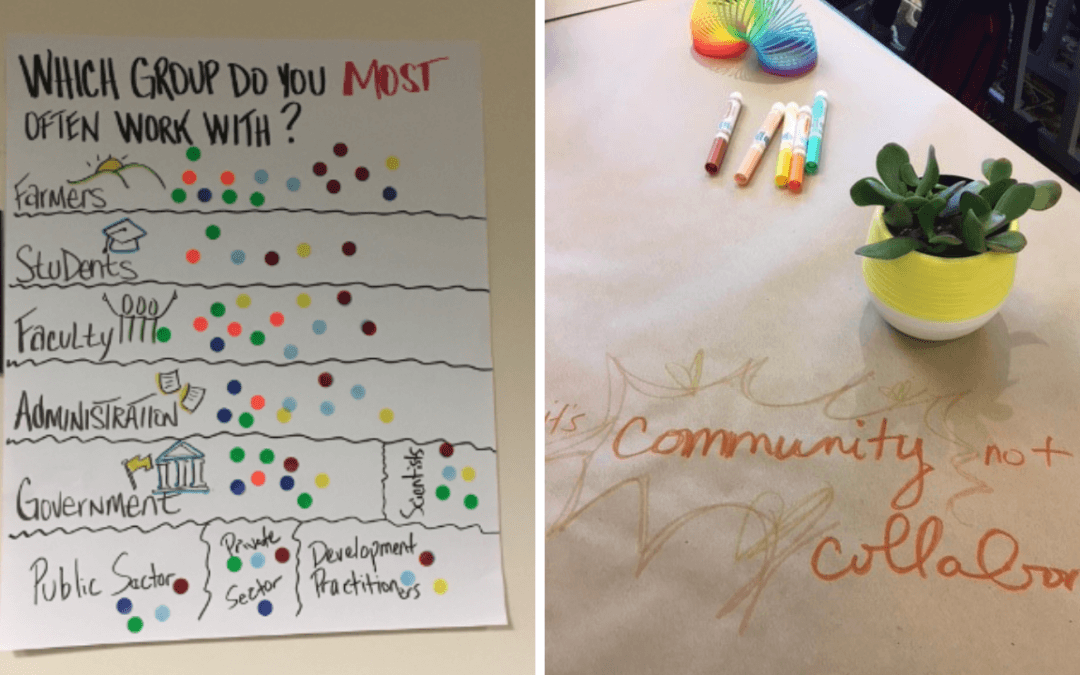
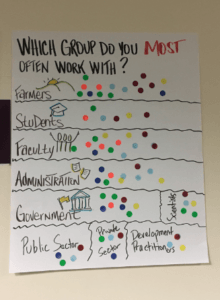
Encourage participation. Get the office or team involved with this process. You can expand your original ideas or let them bring new thoughts to the table. One way to encourage participation is to bring colored dots to your session. Allow each participant to use their dots to identify which idea they like the most and contribute their vote! The dots could also serve as a representation of their roles in the company as shown in the image below. See where everyone adds their talents!
Dream big and have fun! If you think your not sure how to plan a brainstorming session, we can support you, just contact us. We would love to help!
by Lisa | May 1, 2019 | Event Planning, Facilitation, Graphic Recording, Visual Thinking
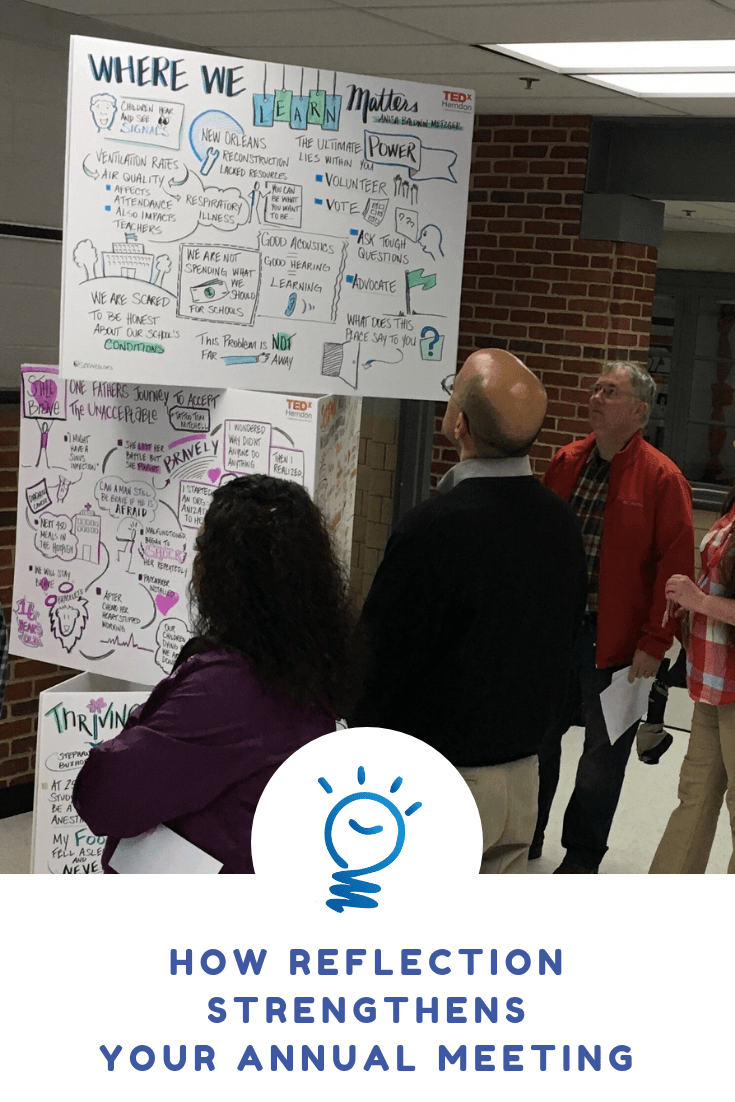
Annual meetings are a time of brainstorming, collaborative thinking and intensive informational exchange. Participants can feel a sense of burnout at various parts of the process, so keeping them engaged is crucial. Utilizing a service like a visual facilitator can provide unique imagery and perspective. Use this unique visual storytelling for a time of reflection. You can strengthen your agenda and keep your team energized and open the pathways to learning.

Here are some ideas for using reflection for meaningful discussions and recall. These reflections can be captured by a graphic recorder as well!
- Previous Year Reflections: Allow each member around the room to highlight what worked well and lessons learned from the past year. You could also suggest that they collaborate with their department for their contributions to the discussion.
- Internal Reflections: Prompt participants with the question, “What have you learned about yourself so far?” before lunch or scheduled break in your meeting. Give your team a heads up that you will be asking this question during the session so they don’t feel “on the spot.”
- Silent Reflections: Set a timer for 5-10 minutes for a period of silent reflection. Calming background music is also a great addition to this part. While the silence may feel a little odd at first, it will provide time for those in the room to reset of their mind. At the end of the timer ask if anyone would like to volunteer a thought or two from their “meditation.”
Let the group think back to what they learned throughout the meeting and share their takeaways. Give time for the graphic recorder to illustrate each members thoughts. At the end, you can decide collectively how to share these visual notes. Are you facilitating an annual meeting? Breakout sessions? Let our team help with the visuals! See our portfolio and learn more here!
by Lisa | Apr 17, 2019 | Business, Graphic Recording
In this post, I am going to answer some questions that I get pretty frequently about graphic recording. From what is it to why I love doing it – I am breaking it down for you. Here are the answers to the most common questions that I get asked!

Question #1 “What’s the name of the thing you are doing?”
Most times I get asked by participants at events when I am working. I share with them that I am doing graphic recording. They have usually never heard of it before, so it is fun to share with them about the technique. Want to learn more about this? Check out this video that shares more!
Question #2 “How did you find out about this?”
I found out about graphic recording through a video on YouTube. Yes….Youtube! I was browsing videos about beauty, style and natural hair and I stumbled on a video where someone used doodles to explain the process. In the video, a woman took out a large piece of paper and started drawing. She shared that her sketches were actually called graphic recording. She talked about her business and how people hire her to listen and draw at their meetings or events! I thought to myself “you mean this is a thing, a job!” I got hooked and did some more research and later got trained in this method. From there, I gained the skills, helped clients, built a team and grew the business I have today.
Question #3 “What kind of markers are those?”
The markers that I use are very distinct and have a pretty unique look compared to your typical marker. The company that I use is called Neuland. They are based in Germany. Their products are really durable and the markers are refillable (an eco-friendly plus!). I love how vibrant the colors are. They are great quality and certainly my favorite.
Question #4 “Did they give you any information ahead of time before this session?”
Sometimes when I am hired to record an event, meeting or panel, I am provided with an outline or powerpoint of what will be covered. However, the majority of the time I don’t know what is going to be shared in a session. Event organizers don’t always have the speaker finalized or the speaker may even change up their presentation right before. Part of the job as a graphic recorder is being in the moment and listen to what is being said. While having pre-prepared materials is nice, we can not always depend on that going into an event.
Question #5 “What happens if you make a mistake?”
This is a great question! There are certainly ways to put a band-aid over your “boo-boo’s” if mishaps occur! I always keep a few white mailing labels in my kit to cover up any mistakes and keep going. I also use white-out depending on the size of the mistake. These two little tricks of the trade have helped me out over of the years!
Question #6 “Were you always an artist?”
No, not really. I have always loved art and appreciated it. However, I have never been formally trained. My father had beautiful handwriting and taught me how to write in script. He planted the seed and I never realized it until I learned about graphic recording. His script style has certainly been incorporated into my work. Lettering is a huge part of graphic recording and it is considered art as well. My background is in IT and management so I did not go to school for art specifically – but my education is a great tool for my work. I am able to mix my love of art with communication and business. Make no mistake, graphic recording and facilitation is hard work but it’s “heart work” and I love it!
Got questions? Check out our FAQ page or contact me here!
by Lisa | Apr 3, 2019 | Graphic Recording
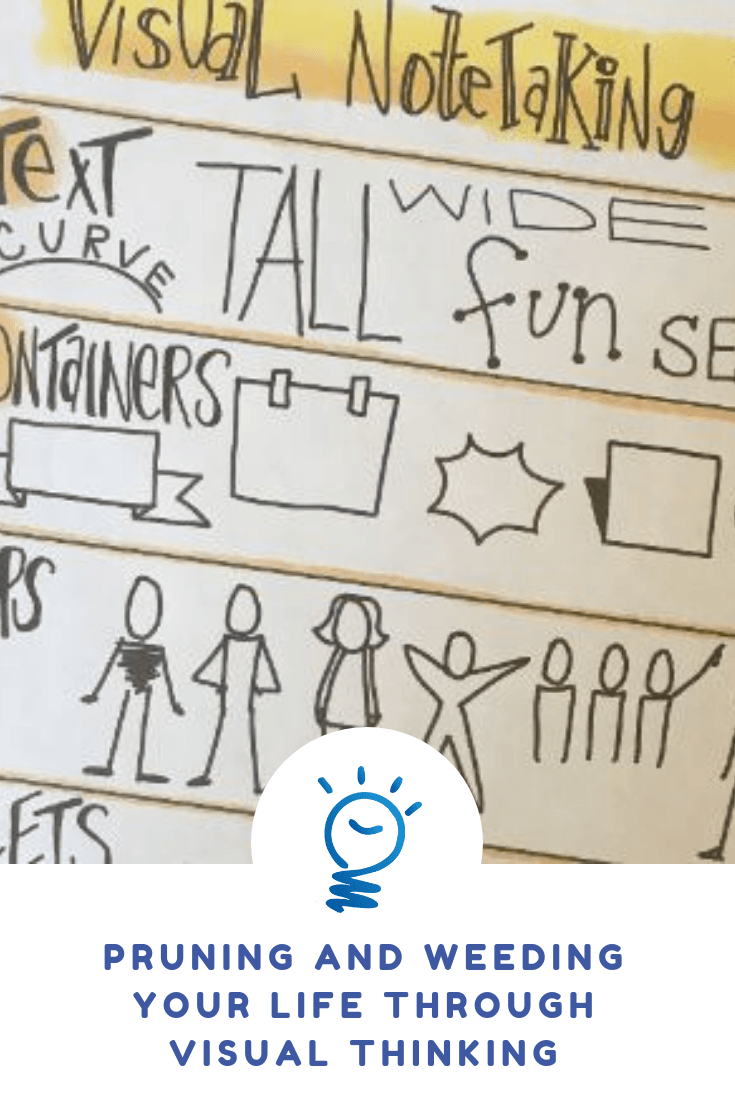
Making time for a self-audit of your schedule, daily habits, free time activities, etc. is a great exercise to complete every quarter. This time of review not only opens up new ideas and goals, but it is a great learning experience. You can use this time to reflect on all sorts of things that you encountered during a three month period. The best part is that you can use visual thinking to do it.
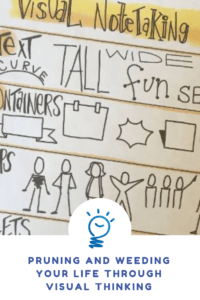
To complete a visual self-audit of your schedule, we recommend gathering a few supplies first!
Things you will need:
- Your calendar: digital or paper planner
- Poster Board or large sheets of paper: to draw out your audit
- Markers or colored pencils: to incorporate color into your audit
After you gather your materials, take time to flip through your schedule and check out your phone to review what types of things occurred over the past few months. Write down the projects you completed, the trips you took, the time you invested in your health or self-care. Whatever stands out to you, write it down. Incorporate your sketchnote skills also to illustrate specific events. Get creative!
Now for the auditing process. Get a red, green and blue marker from your materials. These will be used to circle various parts of your visual audit — memories or events that were positive, circle or highlight with green. For negative experiences, mark them with red. Areas that you see improvement or potential growth opportunities use blue to distinguish this item.
This process should be based on gut reactions. Do not overthink this part! Once you have categorized each item with your color code, take a step back and review your completed audit.
What color is the most dominant? If you are unhappy with your dominant color, what steps can you take to change your dominant color this next quarter?
Keep this process into practice throughout your year. Take photos of your posters or scan them to reference over time. See your evolution of growth and progress!
Want some tips for drawing easy visuals? Sign up for our Visual Notetaking Tip Sheet!